Trezor.io/Start® | Starting Up Your Device – Tŕezor® Official Guide
When entering the world of cryptocurrency, one of the most critical decisions you’ll make is how to protect your digital assets. Tŕezor® has long been a trusted name in the crypto space, known for its commitment to user security, transparency, and innovation. To ensure a secure and verified setup, your journey begins at Trezor.io/Start® — the official starting point for setting up your Trezor hardware wallet.
Whether you’ve purchased the Trezor Model One or the advanced Trezor Model T, setting up your device through the correct and secure process is essential. Trezor.io/Start® is designed to walk you through this process with clarity, confidence, and top-level protection for your assets.
🔐 Why Use a Hardware Wallet Like Tŕezor®?
Cryptocurrencies like Bitcoin and Ethereum offer financial independence — but with that freedom comes full responsibility for your security. Software wallets are convenient but susceptible to malware, phishing attacks, and hacking attempts. A hardware wallet like Trezor keeps your private keys offline, away from hackers, and under your complete control.
Unlike custodial exchanges or online wallets, where your keys may be stored on external servers, Tŕezor® gives you true ownership. And the only safe place to start is the official onboarding portal: Trezor.io/Start®.
🚀 Get Started at Trezor.io/Start®: Step-by-Step Guide
1. Visit the Official Trezor Website
Start by navigating to https://trezor.io/start. Always type the URL directly into your browser — never trust unofficial links or emails. This protects you from phishing scams and counterfeit devices.
2. Unbox and Inspect Your Device
Make sure your Trezor device packaging is intact and untampered. Trezor hardware wallets are not preconfigured — if your device has a recovery phrase or PIN already provided, it is likely compromised. Only devices that let you generate your own keys are safe.
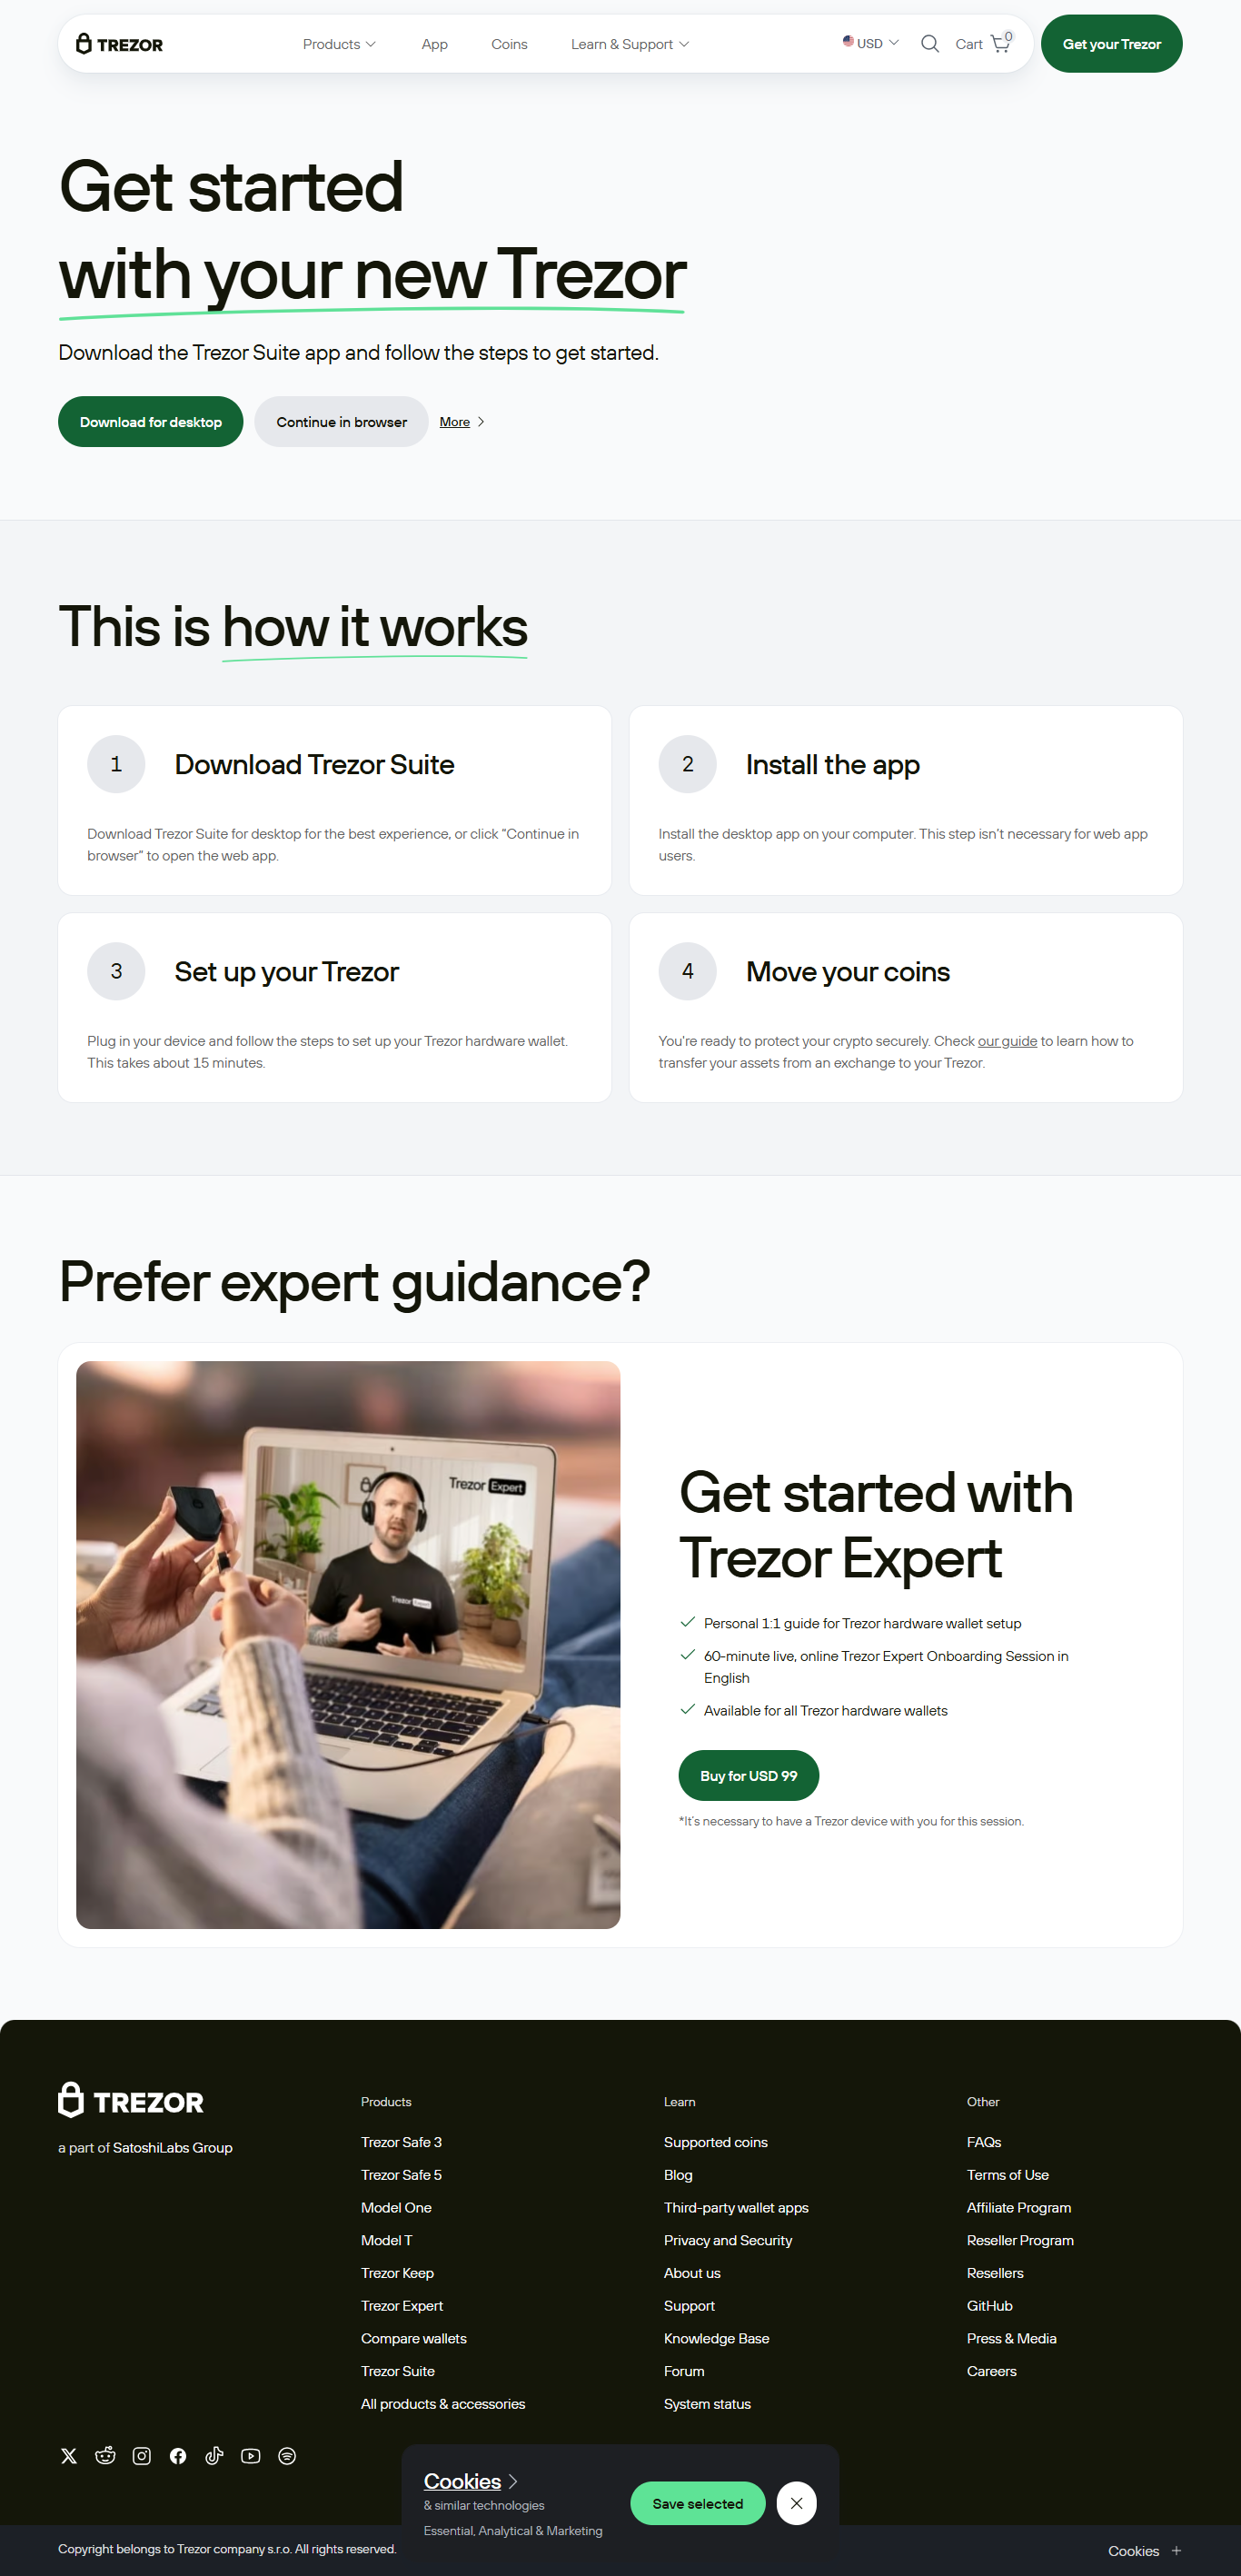
3. Download Trezor Suite
Trezor Suite is the official desktop and browser-based app used to set up and manage your wallet. It allows you to install firmware, manage coins, send and receive crypto, and more. Only download it from Trezor.io/Start® to ensure authenticity.
4. Connect and Install Firmware
Connect your Trezor device to your computer using the supplied USB cable. The device will prompt you to install the latest firmware — a crucial step for security and functionality. Trezor Suite will guide you through the process.
5. Create a New Wallet
Once your device is initialized, you’ll be asked whether you want to create a new wallet or recover an existing one. For most new users, creating a new wallet is the right choice.
-
You will generate a 12-word or 24-word recovery seed phrase.
-
Write this phrase down by hand and store it offline in a safe location.
-
Never share this phrase with anyone — it is the only way to restore your wallet if the device is lost or damaged.
6. Set Up a PIN
Choose a strong, unique PIN for your device. This will be required each time you access your Trezor. It’s an added layer of protection in case your device falls into the wrong hands.
✅ Why Trezor.io/Start® Is the Only Safe Way to Begin
Starting at Trezor.io/Start® ensures:
-
You are using official software and firmware from SatoshiLabs
-
Your device is authentic and uncompromised
-
You receive the most up-to-date security features
-
You avoid third-party risks, including malware and scam clones
From first-time setup to advanced features like passphrases and coin management, Trezor.io/Start® is the safest place to begin and continue your crypto journey.
🛡️ Security Best Practices with Tŕezor®
-
Always use Trezor Suite or Trezor.io/Start® for any updates or wallet setup.
-
Never enter your recovery phrase into a computer, phone, or website. Only enter it directly into your device when restoring a wallet.
-
Enable the passphrase feature for added protection — this acts like a 25th word and can protect your wallet even if someone accesses your recovery phrase.
-
Keep your firmware updated to receive the latest security patches and features.
💡 Trezor Model One vs. Model T
-
Trezor Model One: Great for beginners, supports major cryptocurrencies like Bitcoin, Ethereum, and Litecoin. Simple and affordable.
-
Trezor Model T: Advanced features like a touchscreen, support for a wider range of coins, and enhanced usability. Ideal for more experienced users or larger portfolios.
No matter which model you use, both follow the same secure setup process starting at Trezor.io/Start®.
🌍 Take Control of Your Crypto
In a decentralized world, the responsibility for your wealth lies in your hands. With Tŕezor®, you get unmatched security, open-source transparency, and the tools to manage your assets safely and efficiently.
By beginning at Trezor.io/Start®, you make the smartest decision for your financial future — ensuring that your wallet is set up securely, correctly, and with official guidance.
🔗 Visit Trezor.io/Start® to set up your device and begin your journey into secure crypto ownership with Tŕezor®.